Drawing a Self-Portrait: How to Succeed in Front of the Mirror
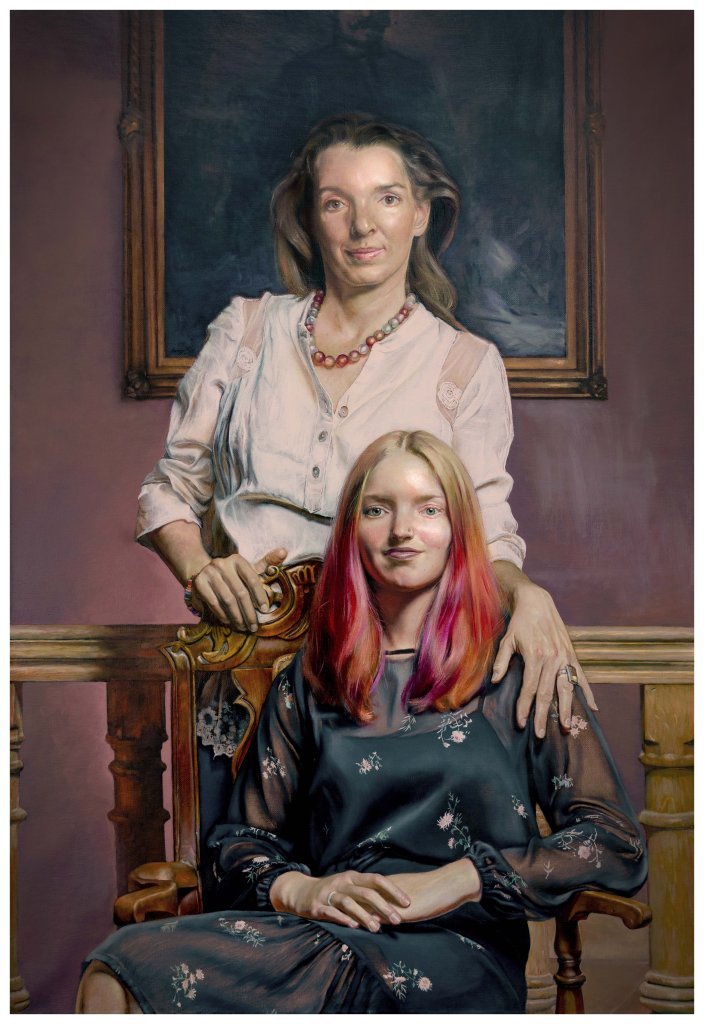
The best way to draw a self-portrait is in front of a fixed mirror with a single light source from the side: you see clear shapes of light and shadow, and your head always stays in the same place. Start with the overall shape of the head and guidelines, check the proportions, and work on details only at the end. Your model is always available – you.
In this article I show how to set up mirror and light, how to get proportions right, what to know about the mirror reversal and which practice plan helps you progress quickly.
Why a self-portrait is the best portrait exercise
A portrait needs a sitter who keeps still for a long time. For a self-portrait that model is always there: you can practise whenever and as long as you like, and nobody gets impatient. That is why many great painters drew and painted themselves again and again.
It is also a school of seeing. You believe you know your own face well – drawing it quickly shows how often memory deceives you. This close observation is the foundation of every portrait.
Setting up mirror and workspace
- A fixed mirror: a hand mirror keeps moving; use one that stands firmly or hangs on the wall.
- Mirror next to the paper: you should switch between reflection and drawing with a small eye movement, without turning your head much.
- A fixed seat: always sit the same way; mark your position so you find it again after a break.
- Distance: about an arm's length from the mirror. Too close, and perspective distorts your face.
Light from the side for clear forms
Lighting decides whether your face looks flat or three-dimensional. Ceiling lights and several lamps create many weak shadows that are hard to read. Use a single source slightly above and to the side – a desk lamp or a window. You then get a clear light side and shadow side, and the volumes of the head become much easier to see. Make sure the light does not glare in the mirror.
Viewing angle and head position
For a first self-portrait I recommend a slight three-quarter view: turn your head a little so one cheek shows more than the other. It looks livelier than a strict frontal view and shows the shape of the nose better. Self-portraits often have an intense direct gaze – you are looking into the mirror all the time. Move only your eyes between mirror and paper, not your head.
Checking proportions
- The eyes sit roughly halfway down the head – not in the upper third, as many beginners draw them.
- The space between the eyes is about one eye wide.
- The ears lie roughly between eyebrow and nose level.
- The corners of the mouth sit roughly below the pupils.
Measure with a pencil at arm's length and compare distances. A simple way to build the head from a sphere and guidelines is explained in my article on the Loomis method.
Mirror reversal: you draw a different face
In the mirror your face is reversed. Other people know you as you really look, so a self-portrait can seem slightly “strange” to friends even when it is accurate. That is not a mistake but a feature of the genre. A useful check: look at your drawing in the mirror from time to time. The reversal reveals tilts and proportion errors immediately.
Mirror or photo?
A photo keeps still and makes measuring easier, but the camera flattens forms, and lenses distort faces – especially at close range, as in a phone selfie. The mirror shows real volumes, subtle transitions and lively colour. My advice: draw from the mirror as often as possible and use a photo only as a supplement when a drawing takes several days and the light keeps changing.
A practice plan for your first self-portrait
- Week 1: 10 minutes a day sketching head shape and guidelines – no details.
- Week 2: single features from the mirror: eye, nose, mouth.
- Week 3: light and shadow – the whole face in just three values.
- Week 4: one finished self-portrait in one to two hours.
Keep all your drawings – comparing them shows how much you have learned in a few weeks.
Frequently asked questions
What materials do I need?
A few pencils (for example HB and 2B to 6B), a kneaded eraser, drawing paper and a fixed mirror are enough.
Why doesn't my self-portrait look like me?
Usually it is the proportions, especially eyes drawn too high – plus the mirror reversal. Check your drawing in the mirror and re-measure the distances.
Can I draw a self-portrait without any experience?
Yes. Start with simple sketches and build up gradually. For more encouragement, read learning to paint without prior experience.
Conclusion: your best model is you
Learning to draw a self-portrait trains everything a good portrait needs: observation, proportion and light. With a fixed mirror, side lighting and regular practice you will quickly gain confidence.
To learn the basics step by step at home, I recommend my online course Drawing for Absolute Beginners. If you prefer personal guidance, you will find my current painting courses and workshops here – for example the portrait course Paint Your Partner.
Gallery