Painting Christmas pictures in acrylic: motif ideas and a beginner's guide
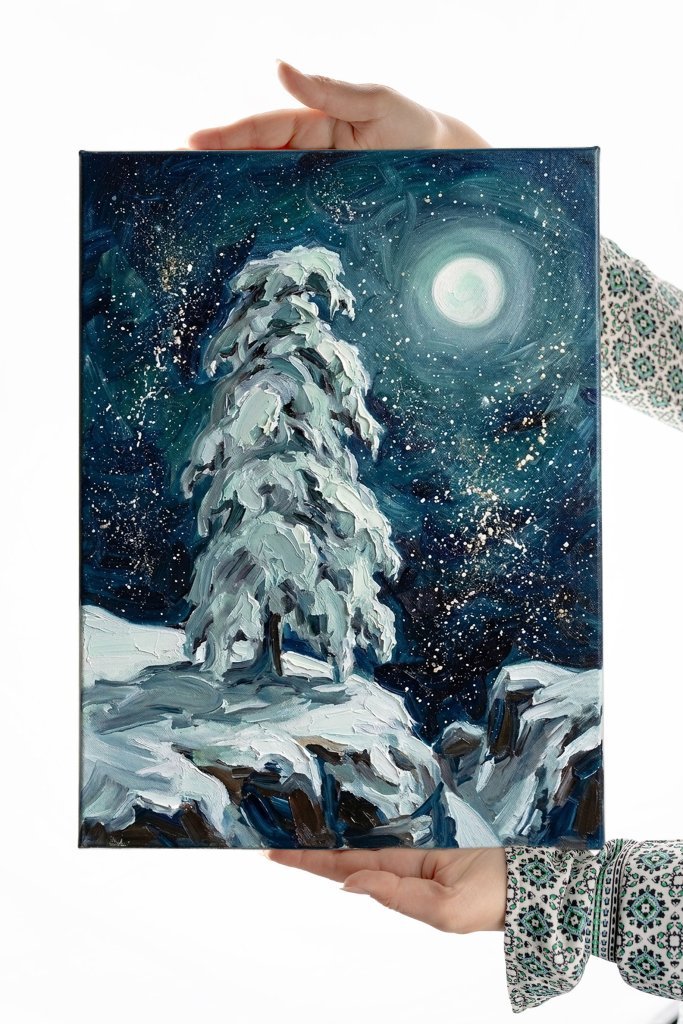
Painting Christmas pictures works well even for beginners if you choose a simple motif and start with a dark background: against a deep night blue or rich red ground, candlelight, fairy lights and snow almost glow by themselves. Acrylic is ideal for this, because it dries quickly and you can set bright lights over dark areas without waiting long. In this article you will find motif ideas, a materials list and a step-by-step guide for a candlelit Christmas painting.
Christmas motifs: ideas for beginners
The best Christmas motif is one with a clear, calm structure: a few large shapes, one light source and a limited palette.
- Candlelight: a single candle against a dark ground is the classic exercise for painting light – few colours, instantly festive.
- Snowy village at night: simple house shapes, warmly lit windows, snow on the roofs and a dark blue sky. The windows are small points of light – perfect practice for glow.
- Christmas tree with lights: a loose triangle of dark greens with small glowing dots.
- Winter forest: slender trunks, snowy firs and a bright horizon. This motif lives on values rather than detail.
- Robin in the snow: a small bird on a snowy twig suits small formats; its orange breast glows against cool blue and white.
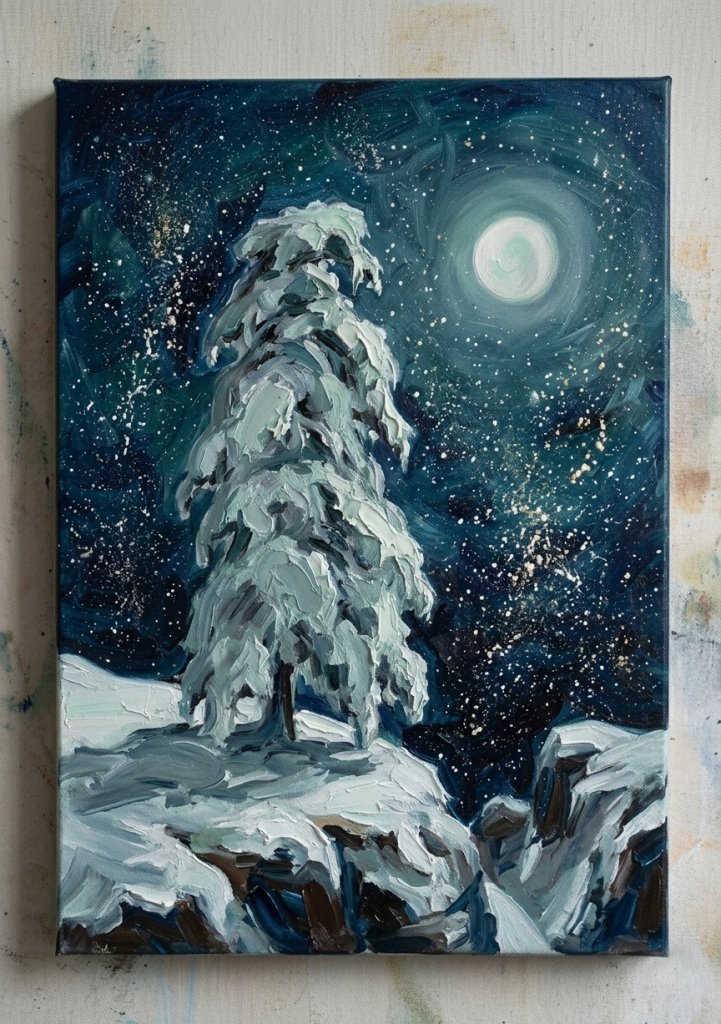
If you would rather paint a landscape with moon and night sky, see my detailed guide painting a winter landscape in acrylic.
Materials for Christmas paintings in acrylic
- Surface: a small canvas or canvas board, e.g. 20 × 20 cm or 24 × 30 cm. For cards, heavy acrylic or watercolour paper is enough.
- Colours: titanium white, ultramarine blue, phthalo or Prussian blue, cadmium yellow (or a hue), yellow ochre, cadmium red or crimson, burnt umber – enough for night blue, fir green and warm light.
- Brushes: a wide flat brush for the background, a medium round and a fine brush for points of light and twigs.
- Also: palette, two water jars, kitchen paper, a soft pencil and an old toothbrush for snowflakes.
New to painting? My article on learning to paint without prior experience explains how to get started.
Painting light: how to make candlelight glow
Light only looks bright when it is surrounded by darkness. That is the key principle for every Christmas painting: a point of light on a pale ground disappears, on a dark ground it shines.
The halo
Real light has no hard edge. Around the flame there is a soft glow that becomes darker and more coloured towards the outside. Paint it in rings – almost white with a touch of yellow in the centre, then yellow, then orange, and a warm reddish brown that melts into the dark background. Blend the transitions while the paint is still wet.
The flame
The flame is not yellow but nearly white at its core. Add it last with a fine brush and thick paint; a hint of orange at the tip and a little blue near the wick make it convincing.
Warm light, cool shadows
Candlelight is warm, the night is cool. Keep the background in blues and violets and the light in yellows and oranges – this warm–cool contrast makes the light glow even more.
Painting snow in acrylic
Snow is almost never pure white. It reflects the sky and the light around it: in a night scene it is blue, grey-violet, or warm yellowish where a window shines.
- Snow shadows: white with ultramarine and a touch of red.
- Lit snow: white with a touch of yellow or ochre.
- Snow on roofs and branches: a thick, soft edge on top of the form with a cool shadow beneath.
- Snowflakes: load an old toothbrush with thinned white and flick the bristles with your thumb. Test on paper first and mask areas that should stay clean.
Step by step: a Christmas candle painting
This painting suits a format of about 20 × 20 cm and can be done in an afternoon.
- Background: mix a deep night blue from ultramarine, a little burnt umber and a touch of red. Cover the whole surface, keeping the centre where the flame will sit slightly lighter.
- Sketch the candle: once dry, draw a simple candle – a rectangle with a slightly oval top – with pencil or a light coloured pencil. A fir twig or two baubles are enough decoration.
- Paint the halo: work the glow in rings from reddish brown inwards to orange and yellow, blending with a dry soft brush.
- Model the candle: the side facing the flame is light and warm, the far side cooler and darker; the top edge right under the flame glows most.
- Twigs and baubles: short dark-green strokes of phthalo blue and yellow for needles, small reflections of the flame on the baubles.
- Flame and highlights: finally the flame in almost pure white with a hint of yellow, plus tiny highlights on baubles and wax.
- Step back: view the painting from a few metres away. Often a little more darkness at the edges is all it needs for the light in the centre to shine.
Small formats as Christmas gifts
A painting you made yourself is a personal gift that lasts. Small formats such as 15 × 15 or 20 × 20 cm are ideal: quick to paint, easy to display and easy to wrap. You could also paint a small series of three motifs with the same palette.
Painting Christmas cards in acrylic is just as easy: cut heavy paper to card size and work on several at once. Let the paintings dry for at least a day before wrapping. For more ideas on giving art, read my article giving art as a gift.
Common mistakes
- Background too light – without darkness, light cannot glow.
- Too much detail – tree, presents, fireplace and window all at once look restless. Choose one main motif.
- Pure white snow – it looks flat like paper. Use cool blues for shadows.
- Hard edges around lights – a point of light without a halo looks stuck on.
- Highlights too early – they get smeared. Add them last.
Frequently asked questions
Which Christmas pictures are easy for beginners?
Motifs with a few large shapes: a candle on a dark ground, a tree silhouette with points of light, or a snowy house with one lit window.
How do I paint lights that really glow?
With a dark background, a soft halo from orange to yellow and a small, almost white core applied thickly at the very end.
How long should an acrylic painting dry before I give it away?
Acrylic is touch-dry quickly, but with thicker layers leave the painting for at least a day before wrapping it.
Can I paint a Christmas picture in a course?
Yes. In my Christmas course „Stille Nacht“ at the Adina Apartment Hotel Düsseldorf you paint a wintry acrylic picture with guidance. All materials are included and no previous experience is needed.
Conclusion
Painting Christmas pictures in acrylic is a lovely introduction to painting light: a dark ground, a soft halo and coloured snow are enough for an atmospheric picture. If you would like to try it together with others, take a look at the Stille Nacht course and my other painting courses – I will show you right on your canvas how to make the light shine.
Gallery