Still life drawing for beginners: step by step in pencil
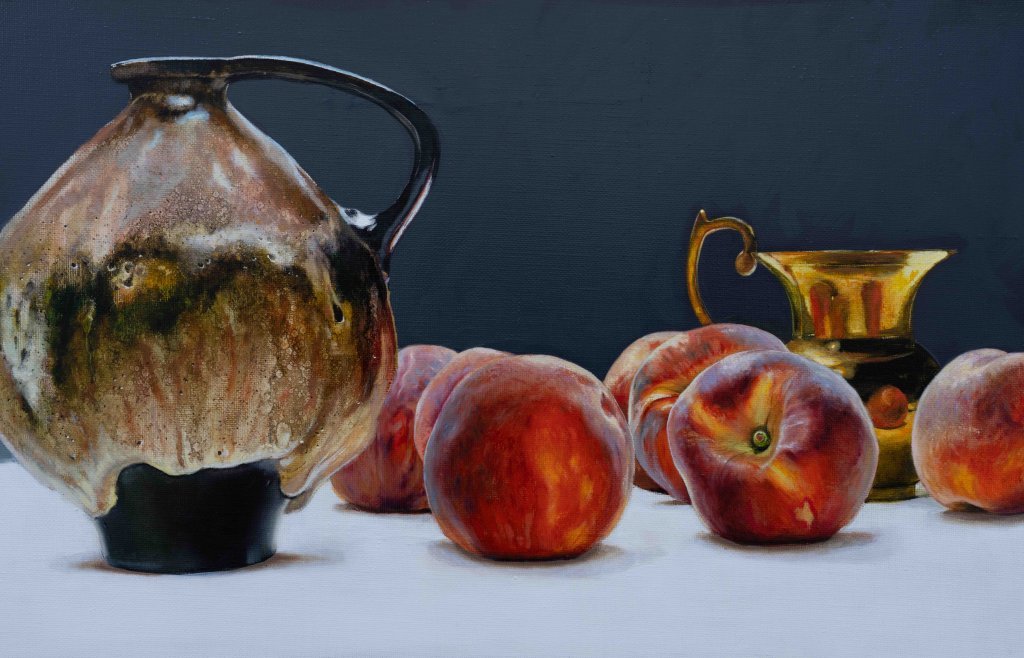
Drawing a still life is the best way to learn how to see and draw: the objects don't move, the light stays the same, and you can take as long as you need. With a pencil, a sheet of paper and three simple objects from your kitchen table, you practise exactly what every portrait and painting is built on later: shapes, proportions and tonal values. In this post I'll show you step by step how to set up and draw a still life.
Why still life drawing is so valuable for beginners
A face forgives very few mistakes, and a model moves. An apple, a cup and a bottle wait patiently. That is why academic art training has started with the still life for centuries: you learn to look closely instead of drawing what you think you know.
- Proportions: how tall is the bottle compared with the cup?
- Basic forms: sphere, cylinder, cube and cone hide in almost every object.
- Light and shadow: a single light source reveals volume.
- Composition: you decide how the objects relate to each other.
Setting up the subject: less is more
Beginners often set up too many objects. Start with two or three items with clear shapes, such as an apple (sphere), a cup (cylinder) and a small box (cube). Plain, matte objects are easier at first than shiny glass or colourful packaging.
- Place the objects slightly staggered and partly overlapping to create depth.
- Avoid lining everything up in a row or using objects of the same height.
- A plain cloth underneath gives a calm background.
- Always draw from the same spot, even a small shift changes the perspective.
Light: one source, clear shadows
Use a single light source from the side and slightly above, like a desk lamp or a window, and switch off other lights. On each object, look for the highlight, light, halftone, form shadow, cast shadow and reflected light. I explain these zones in detail in drawing light and shadow.
Basic forms and ellipses
Before any detail, build a light framework. A bottle is a cylinder with a cone on top, a pear is two joined spheres. Cups, glasses and plates show ellipses from above, and this is where most mistakes happen:
- Ellipses have no points, both ends are evenly rounded.
- The further below eye level, the rounder the ellipse, so the bottom of a cup is rounder than its rim.
- Draw the whole ellipse, including the hidden back part, and erase it later.
- A vertical centre line keeps both halves symmetrical.
Drawing a still life step by step
- Set the format: mark where the group starts and ends, leaving some space around it.
- Measure proportions with your pencil at arm's length.
- Sketch the basic forms lightly with an HB or 2H pencil, including ellipses and centre lines.
- Refine the contours and remove construction lines with a kneaded eraser.
- Outline the shadow shapes with a fine line.
- First tonal layer: an even, light tone over all shadow areas with a 2B.
- Build the values with 4B to 6B, darkest where the cast shadow meets the object.
- Finish with soft halftones, reflected light and highlights lifted out with the eraser.
Which pencils and papers you really need is covered in drawing materials for beginners.
Tonal values create volume
Make a value scale of five to seven steps from paper white to your darkest black and compare it with the subject. Squint to lose the details and see only the big light and dark shapes. Let your hatching follow the form so every stroke supports the volume.
A simple four-week practice plan
- Week 1: single basic forms, 20 to 30 minutes each.
- Week 2: ellipse training with glasses, bowls and bottles.
- Week 3: two or three objects with overlaps and cast shadows.
- Week 4: a complete still life with cloth and background over two sessions.
Frequently asked questions
Which pencil is best for a still life?
HB or 2H for the underdrawing, 2B, 4B and 6B for the shadows.
How long does a still life take?
A single-object study takes 20 to 40 minutes, a finished still life two to four hours, ideally over several days.
Can I draw from a photo?
Yes, but the real subject is better, because photos flatten shadows and depth.
What comes after the pencil?
Colour. I show how to paint the same subject in oil in painting a still life in oils.
Conclusion
Still life drawing trains your eye for proportion, light and value like few other exercises. Start simple, draw regularly and keep comparing with the subject. If you'd like to paint and draw with personal guidance, you'll find all current dates on the painting courses page.
Gallery