Learn to Draw Portraits: The Loomis Method Explained Simply
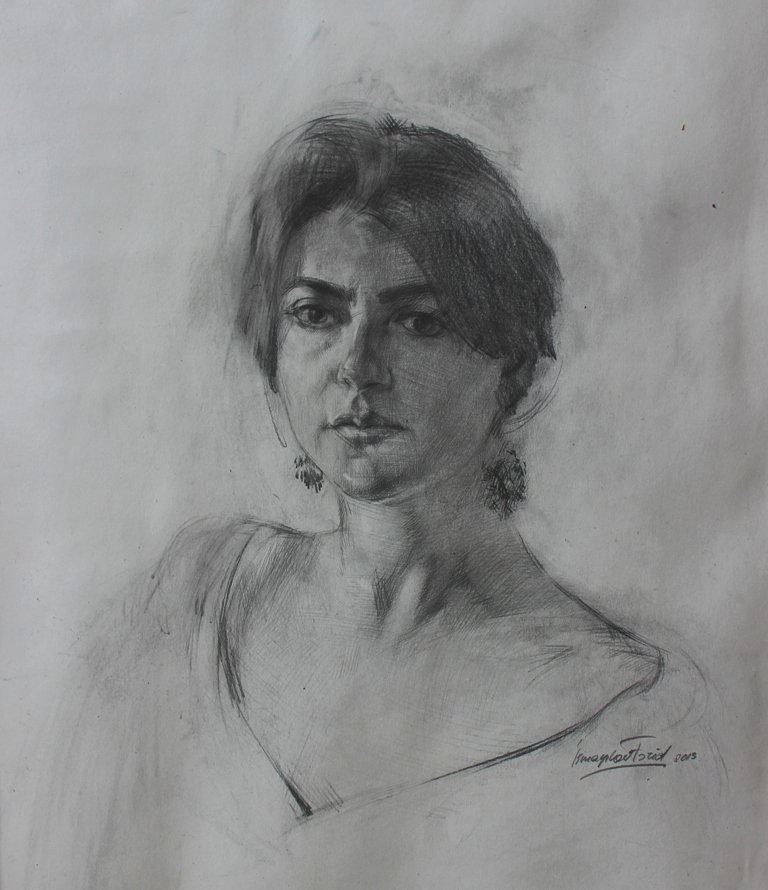
The Loomis method lets you learn to draw portraits without the head looking crooked, flat or just “somehow wrong”. You build the head from a sphere, slice off the sides and place the brows, nose and chin with a few guidelines – only then do you add eyes, mouth and hair. In this article I explain the Loomis method step by step, the way I teach it in my classes.
What is the Loomis method?
Andrew Loomis (1892–1959) was an American illustrator and drawing teacher. In his book “Drawing the Head and Hands” he described a construction method that lets you build a head from any angle – front view, profile, three-quarter view, from above or from below.
The core idea: instead of drawing an outline first, you think in volumes. Many beginners start with an oval and put the eyes inside it. The result often looks like a flat mask. The Loomis method starts with a three-dimensional form on which every feature has its fixed place. That is why it still works when the head is turned or tilted.
The Loomis method step by step
Use a hard or medium pencil (around HB or 2H) and very light pressure for the construction. These are guidelines and should be barely visible later on.
1. The sphere as the cranium
Draw a circle. It stands for the upper, rounded part of the skull – not the whole face. The circle does not need to be perfect. What matters is that you imagine it as a ball, not a flat disc.
2. Slice off the sides
The human head is flatter at the sides than a ball. Loomis therefore “cuts off” a slice on the left and right. This creates an oval side plane where the temple and ear will sit. In a front view you only see this plane as a narrow vertical ellipse at the edge. The further the head turns, the wider and rounder the visible side plane becomes – in profile it is almost a full circle.
3. Centre line and brow line
Draw a vertical centre line over the front of the sphere. It does not run straight; it follows the curve of the form and shows where the head is looking and how much it is tilted. Then draw a horizontal line through the middle of the side plane all the way around the sphere: the brow line. Where the centre line and brow line cross is the point between the eyebrows.
4. Nose line and chin
The bottom edge of the side plane roughly marks the nose line, the height of the underside of the nose. The top edge corresponds roughly to the hairline. Now measure the distance from the brow line to the nose line and repeat it once more downwards along the centre line. That is where the chin sits. This gives you the classic division of the face into thirds: hairline to brows, brows to nose, nose to chin – three roughly equal sections.
5. Jaw and ear
From the back of the side plane, draw the jaw line diagonally down to the chin. The ear sits just behind the side plane, roughly between the brow line and the nose line. Your framework is now complete – and you have not drawn a single detail yet.
Key proportions for portrait drawing
Now you place the features on the Loomis framework. These rules of thumb for an adult head in front view will help:
- The eyes sit roughly halfway between the top of the head and the chin – almost every beginner places them too high.
- The space between the eyes is about one eye width; the head is about five eye widths wide.
- The wings of the nose are about as wide as the distance between the inner corners of the eyes.
- The line of the mouth sits about a third of the way from the nose to the chin.
- The corners of the mouth line up roughly below the pupils.
- The ears span roughly from the brow line to the nose line.
These are averages. No face follows them exactly – and those deviations are precisely what creates a likeness. The rules give you a starting point from which you observe your model closely.
Turning and tilting the head
The real strength of the Loomis method shows when the head is not facing you directly. When the head turns, the centre line moves sideways and curves more strongly. When the head looks up or down, the brow line and nose line become arcs: looking up, they curve upwards; looking down, they sag downwards.
A simple exercise: take an orange or a table tennis ball, draw the centre line and brow line on it and turn it in your hand. You immediately see how the lines change in perspective. This spatial thinking is the real benefit of the method.
Practice plan for the Loomis method
- Construction only: fill a page with spheres, side planes, centre lines and brow lines in different rotations.
- Three views: build the same head in front view, profile and three-quarter view.
- Construction over photos: place tracing paper over portrait photos and draw the sphere, side plane and guidelines. This trains your eye for tilt and rotation.
- Free portrait: only now draw a portrait from a reference – framework first, then the features, light and shadow last.
Twenty minutes regularly beats three hours once a month. The construction should become so familiar that you no longer have to think about it.
Learning portrait drawing with guidance
Portraits are my passion; in my own work I focus on the realistic rendering of faces and expression. You can read more about my background on the About page. If you are just starting out, my article learning to paint without prior experience has more tips for getting started.
If you prefer to practise at home at your own pace, you can begin with my online course Drawing for Absolute Beginners on Udemy. An in-person class adds something crucial: I see your drawing and can show you directly where the construction is off.
Frequently asked questions
Is the Loomis method suitable for beginners?
Yes. It requires no previous experience, just patience with the first, still clumsy spheres. Beginners in particular benefit because the method prevents typical proportion mistakes from the start.
Do I have to erase the guidelines later?
If you work with light pressure, most lines disappear under the shading. Anything that bothers you can be lifted carefully with a kneaded eraser without roughening the paper.
What materials do I need?
To start, an HB or 2H pencil for the construction, a 2B and a 4B pencil for shadows, a kneaded eraser and smooth drawing paper of about 120 gsm or more are enough.
Does the method work in profile too?
Yes, in profile it is particularly clear: the side plane appears as a circle, and you can see how far the back of the head extends behind the ear – an area many people draw too small.
Conclusion
The Loomis method is not a rigid formula but a tool: it gives the head a stable framework on which you can get the proportions right and then observe freely and accurately. If you would like to learn portrait drawing with personal guidance, take a look at my current painting and drawing courses – I look forward to meeting you in class.
Gallery