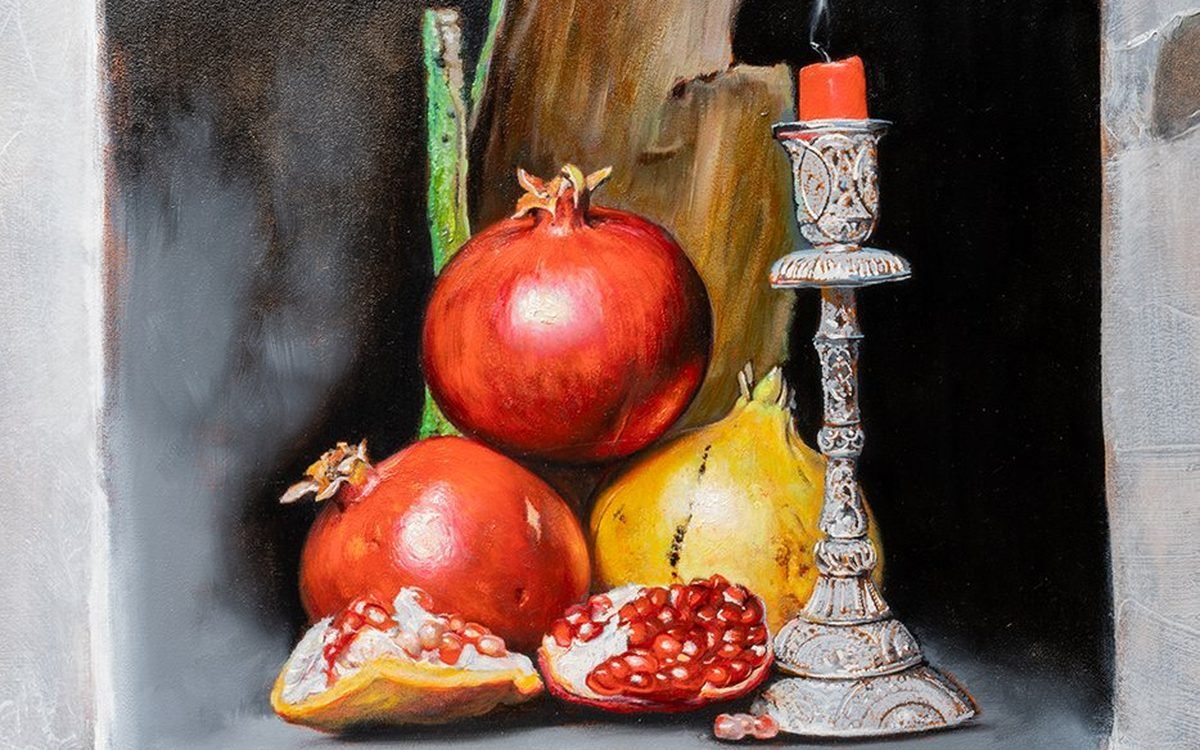
Glazing in Oil Painting: How to Create Depth and Luminous Colour
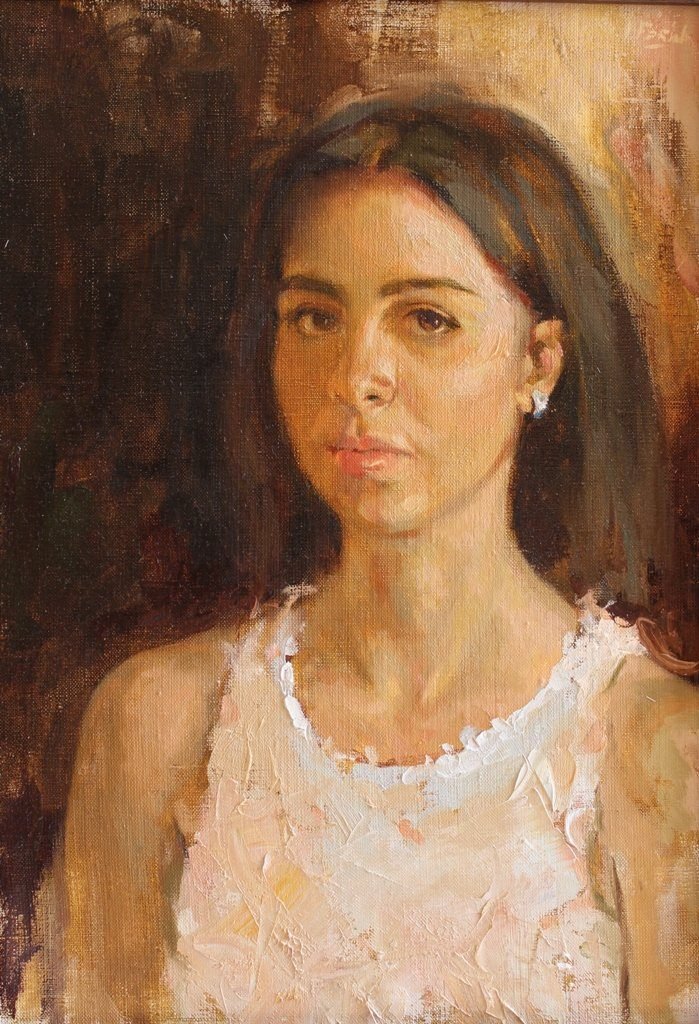
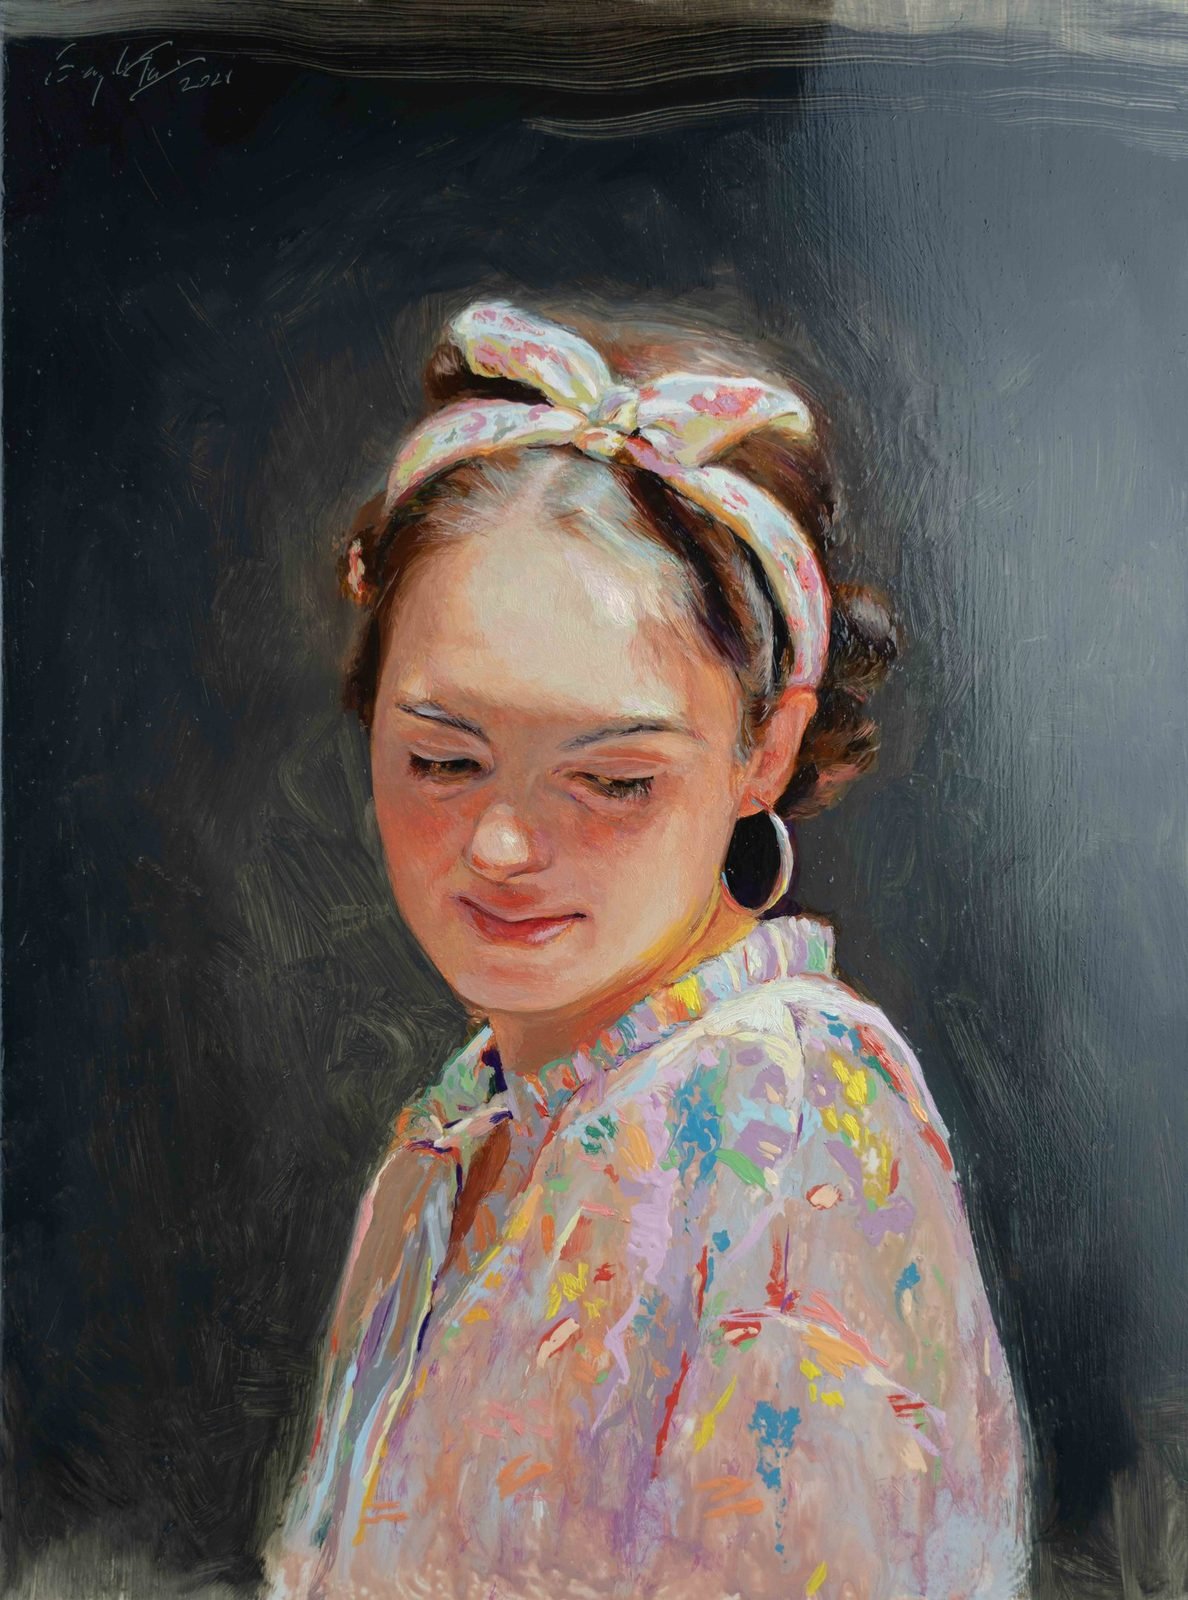
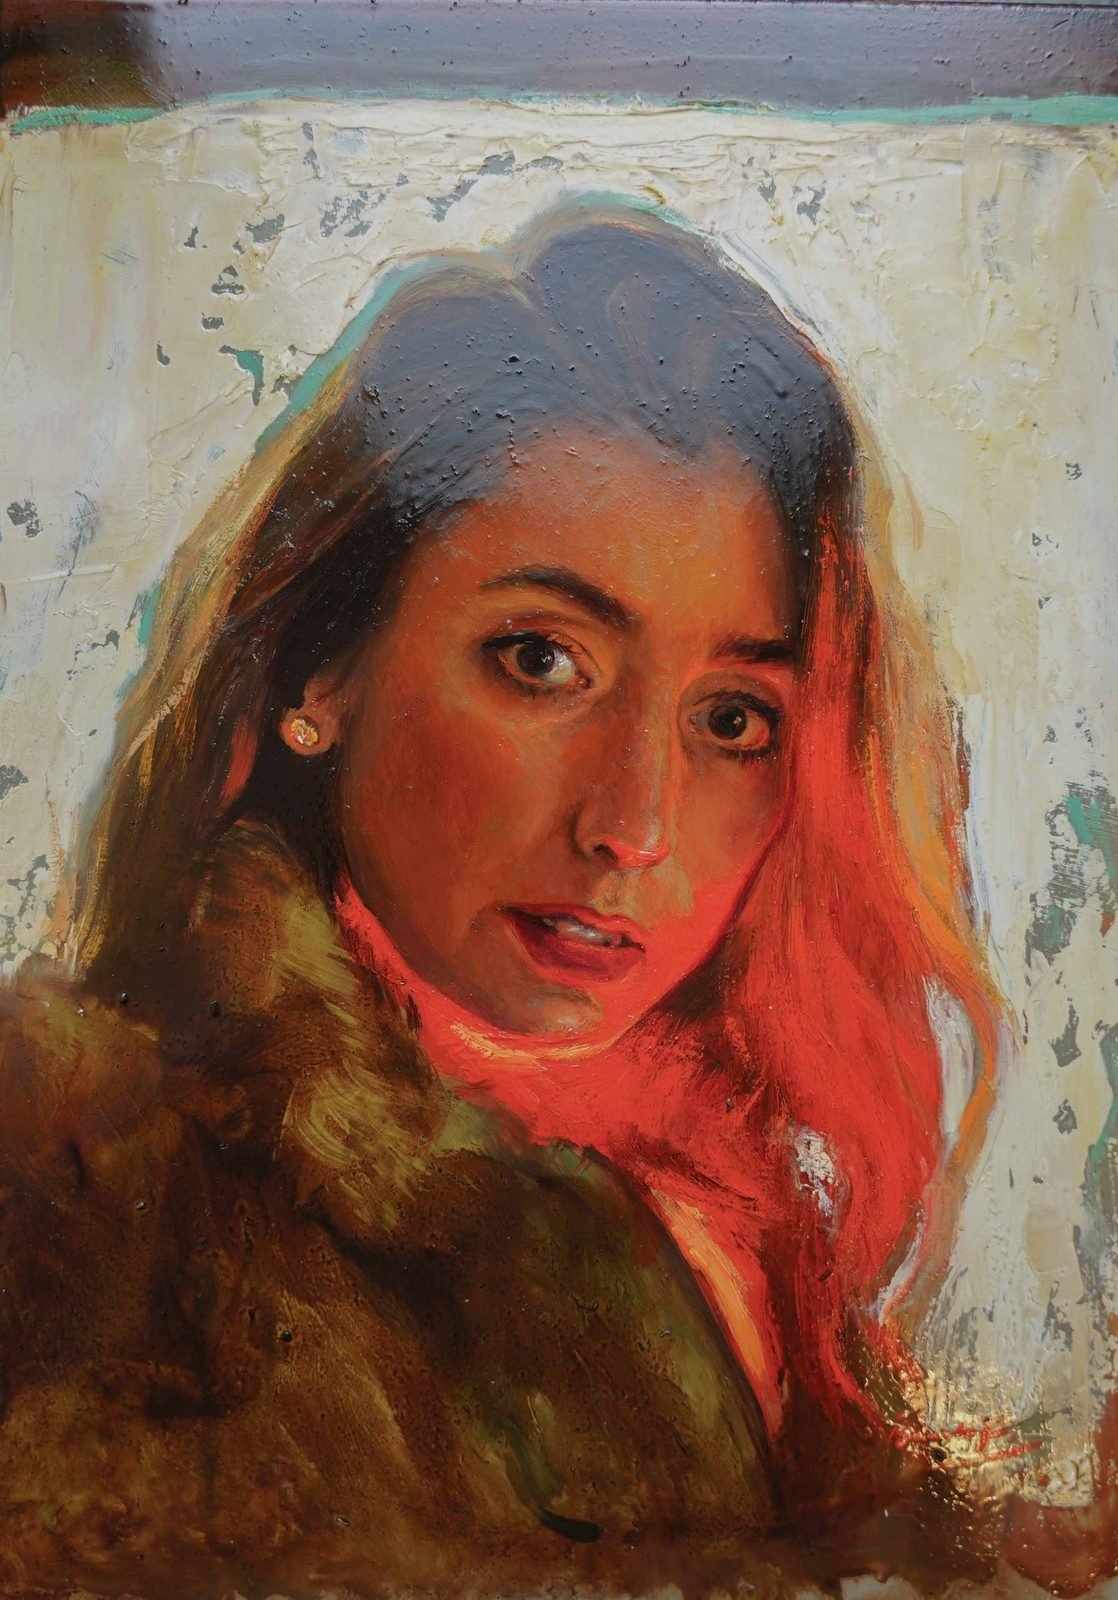
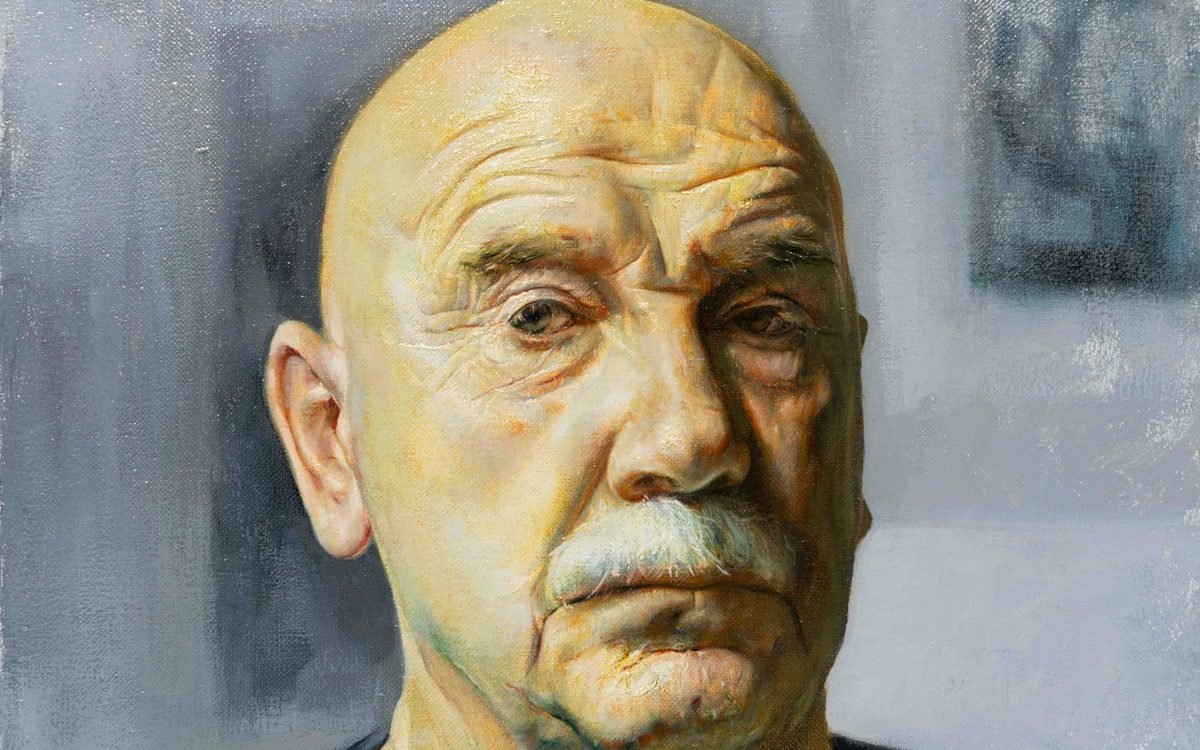
Glazing in oil painting means laying thin, transparent layers of paint over a layer that has already dried. Light passes through the glaze, is reflected by the lighter layer beneath and makes the colour glow from within – an effect you cannot achieve by simply mixing on the palette. This is how the depth and luminosity we admire in Old Master paintings come about.
In this post I explain which colours are suitable for glazing, how to prepare the medium, how long each layer needs to dry and which mistakes to avoid.
What is a glaze – and what makes it special?
A glaze is a transparent layer of colour through which the layer below remains visible. This is called optical colour mixing: a transparent red over a light yellow gives an orange that looks different from one mixed on the palette – deeper, richer and more luminous at the same time.
The opposite is opaque painting, where each colour covers what lies beneath. In between is the scumble or velatura: a thin layer lightened slightly with white that has a veil-like effect and can gently lighten or cool areas.
Glazing makes things darker, not lighter
This is the most important rule to understand: every transparent glaze makes an area darker and more saturated. You must therefore lay in light areas opaquely beforehand, and rather a little too light. Glazing over a dark underpainting will not produce luminosity.
Glazing technique: which colours work?
Not every pigment is transparent. Many tubes carry a symbol for opacity – an empty square usually means transparent, a filled one opaque. Good glazing colours include:
- Alizarin crimson or a permanent substitute: a cool, deep red – for shadows in skin and fabrics
- Ultramarine blue: the classic transparent blue
- Burnt sienna: a warm, glowing red-brown
- Transparent oxides (transparent red, yellow, brown oxide): very luminous and relatively fast drying
- Phthalo and quinacridone colours: modern, intensely staining pigments – use sparingly
Opaque colours such as titanium white, cadmiums or Naples yellow are unsuitable for classic glazes but can be used in tiny amounts for scumbles.
The right medium for glazes
For a glaze you do not thin the paint with pure solvent but with an oil-containing medium. Pure solvent would make the paint “lean” and weaken the binder film – the glaze could turn dull and brittle.
- Ready-made glazing medium: the easiest option for beginners. Many contain alkyd resin and speed up drying considerably.
- Mixed yourself: for example one part linseed or stand oil to about two parts odourless solvent. With each further glaze the oil content may increase slightly.
Keep to fat over lean: each upper layer should contain at least as much, ideally slightly more, oil than the one below. At the same time, use as little medium as necessary. Too much oil can lead to wrinkling, yellowing and a tacky surface.
Step by step: how to glaze
- Underpainting: start with an imprimatura and a tonal underpainting – in grey (grisaille) or brown, for instance. I explain how an imprimatura works in a separate post.
- Build the lights opaquely: paint light areas opaquely and somewhat lighter than you want them in the end.
- Let it dry completely: the layer must be at least touch-dry, or the glaze will lift it again.
- Mix the glaze: combine a little transparent paint with glazing medium to a fluid, translucent consistency.
- Apply thinly: brush it on evenly and thinly with a soft synthetic or hair brush.
- Remove and soften: take off excess glaze with a clean dry brush or lint-free rag, and soften the edges with a soft brush.
- Dry and repeat: only once the glaze is dry does the next layer follow.
How long do glazes need to dry?
This is the most common question – and the honest answer is: it depends. Pigment, thickness, medium, room temperature and humidity all play a role. As a rough guide:
- With an alkyd medium, a thin glaze can often be painted over after about a day.
- With linseed-oil mediums, expect several days to about a week.
- Slow-drying pigments or thicker layers take longer.
Test with your finger in an inconspicuous spot: if nothing sticks, the layer is touch-dry. When in doubt, wait an extra day. An oil painting is only fully cured after many months, so the final varnish comes much later.
Typical glazing mistakes
- Glazing onto wet layers: colours mix and the glaze turns muddy.
- Using opaque pigments: the area turns milky instead of luminous.
- Too much medium: the surface stays tacky, may wrinkle or yellow later.
- Underpainting too dark: without a light base the glaze cannot glow.
- Glaze too thick: several thin layers work better than one thick one.
- Dull, “sunken-in” patches: if areas go matt, a thin retouching varnish or a touch of medium helps you judge the colours properly again.
Remember safety here too: work with odourless solvent and good ventilation, and lay oil-soaked rags out flat to dry or keep them in a closed metal container.
Frequently asked questions
Can I learn glazing as a beginner?
Yes. Glazing is mainly a matter of patience and planning, not talent. It helps to know the basics of materials and mediums – my post Oil painting for beginners gives an overview.
Which brush is best for glazing?
Soft flat brushes in synthetic or natural hair that don't leave visible brushmarks. A wide, soft blender helps to smooth transitions.
Does glazing work with acrylics?
Yes, with acrylic glazing medium. The layers dry very quickly, but soft transitions are harder, and the classic depth of an oil glaze is not quite as easy to achieve.
How many glazes does a painting need?
There is no fixed number. Sometimes a single glaze is enough to deepen an area; other paintings have many thin layers. What counts is the result, not the count.
Conclusion: patience you can see
Glazing is slow, but it rewards you with a depth and luminosity few other techniques achieve. With transparent pigments, a suitable medium and enough drying time, beginners can master it too. I demonstrate the classical layered approach in detail in my Udemy course Old Masterly Portrait Painting with Oil Colors. If you'd rather learn in person at the easel, you'll find my current painting courses under Courses and dates.
Gallery